Ucloud Server Purchase and Configuration Tutorial
The tutorial on this page only requires configuration once for the first purchase; no further configuration is needed afterward. Furthermore, one server can host countless websites.
1.1 Registration and Purchase
Register via this link: https://passport.ucloud.cn?cps_code=Dc1Hr36c1akEpjLfX4xSSH
After successful registration, complete the personal real-name authentication: https://console.ucloud.cn/uaccount/authentication
Open the new user special offers page: https://www.ucloud.cn/site/active/kuaijiesale.html
Find the cloud server, click on [Europe and America Zone], select: [2C 2G 30M], traffic package: 600G, duration: 1 year, price: 90 RMB.
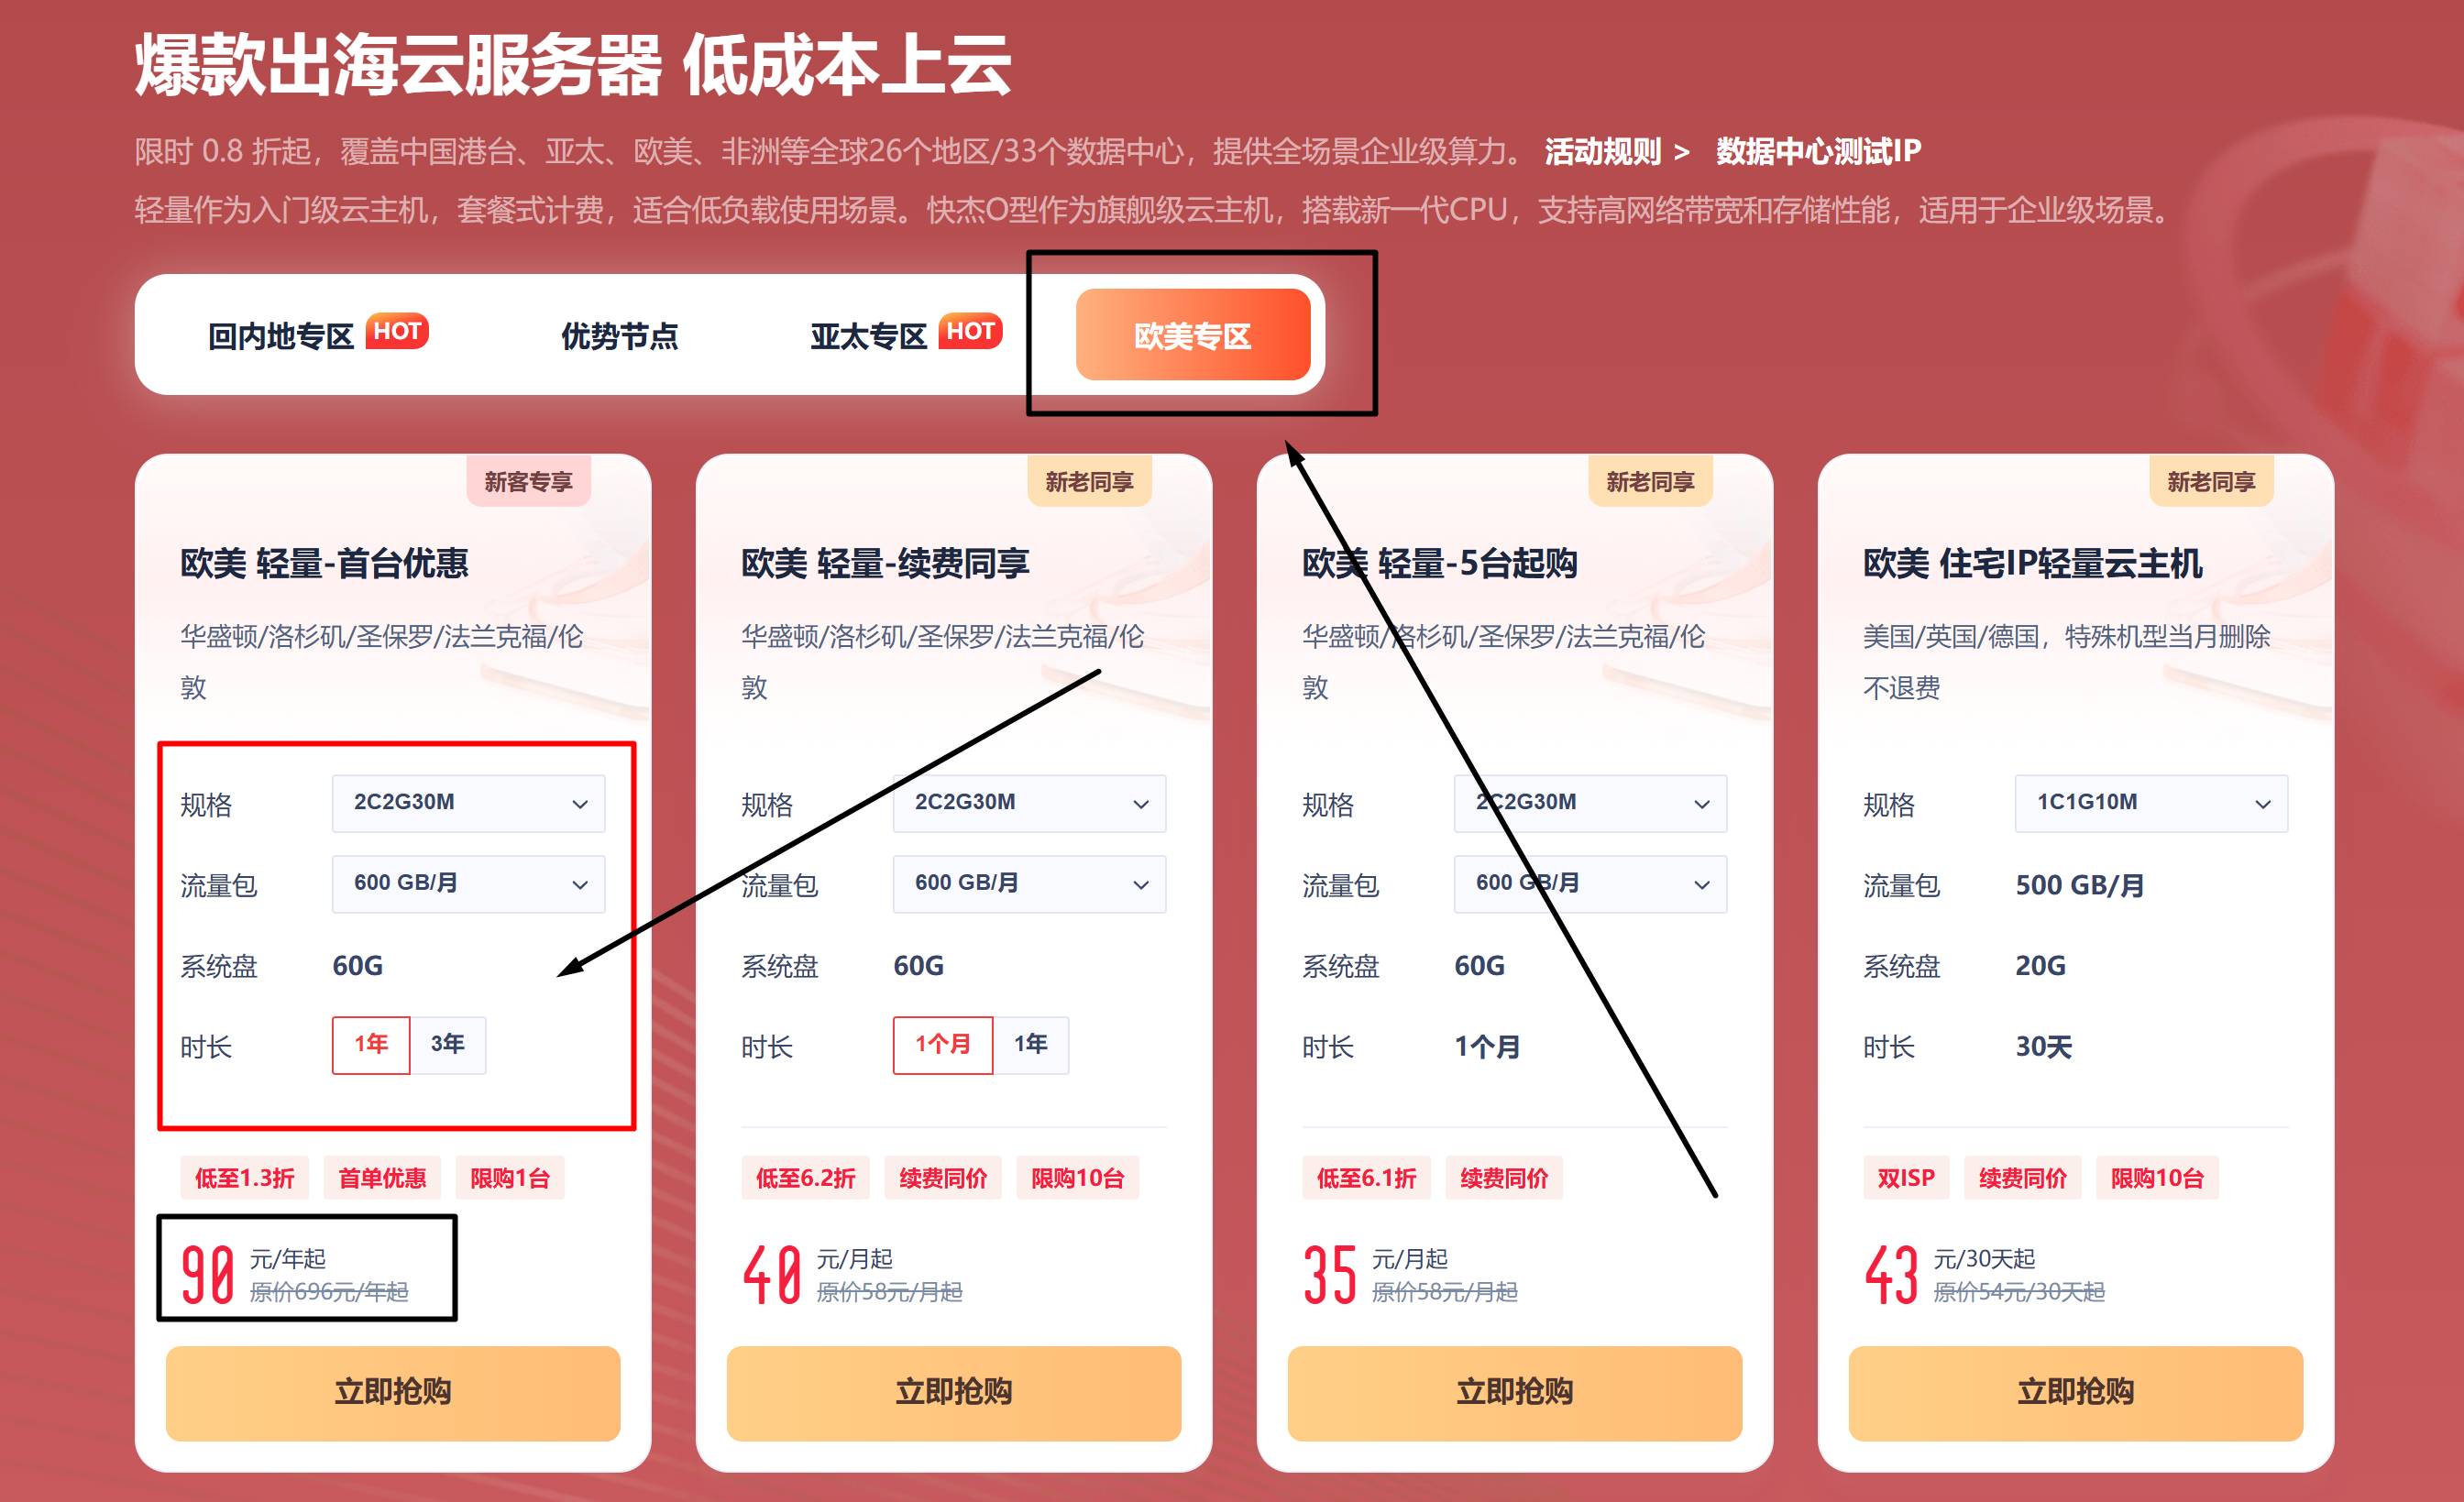
uCloud new user special offers page (click to view larger image)
Selecting Los Angeles as the region may result in slower network speeds compared to other cities. Choose [Application Mirror], then [BT Panel]. Set your own password and remember it.
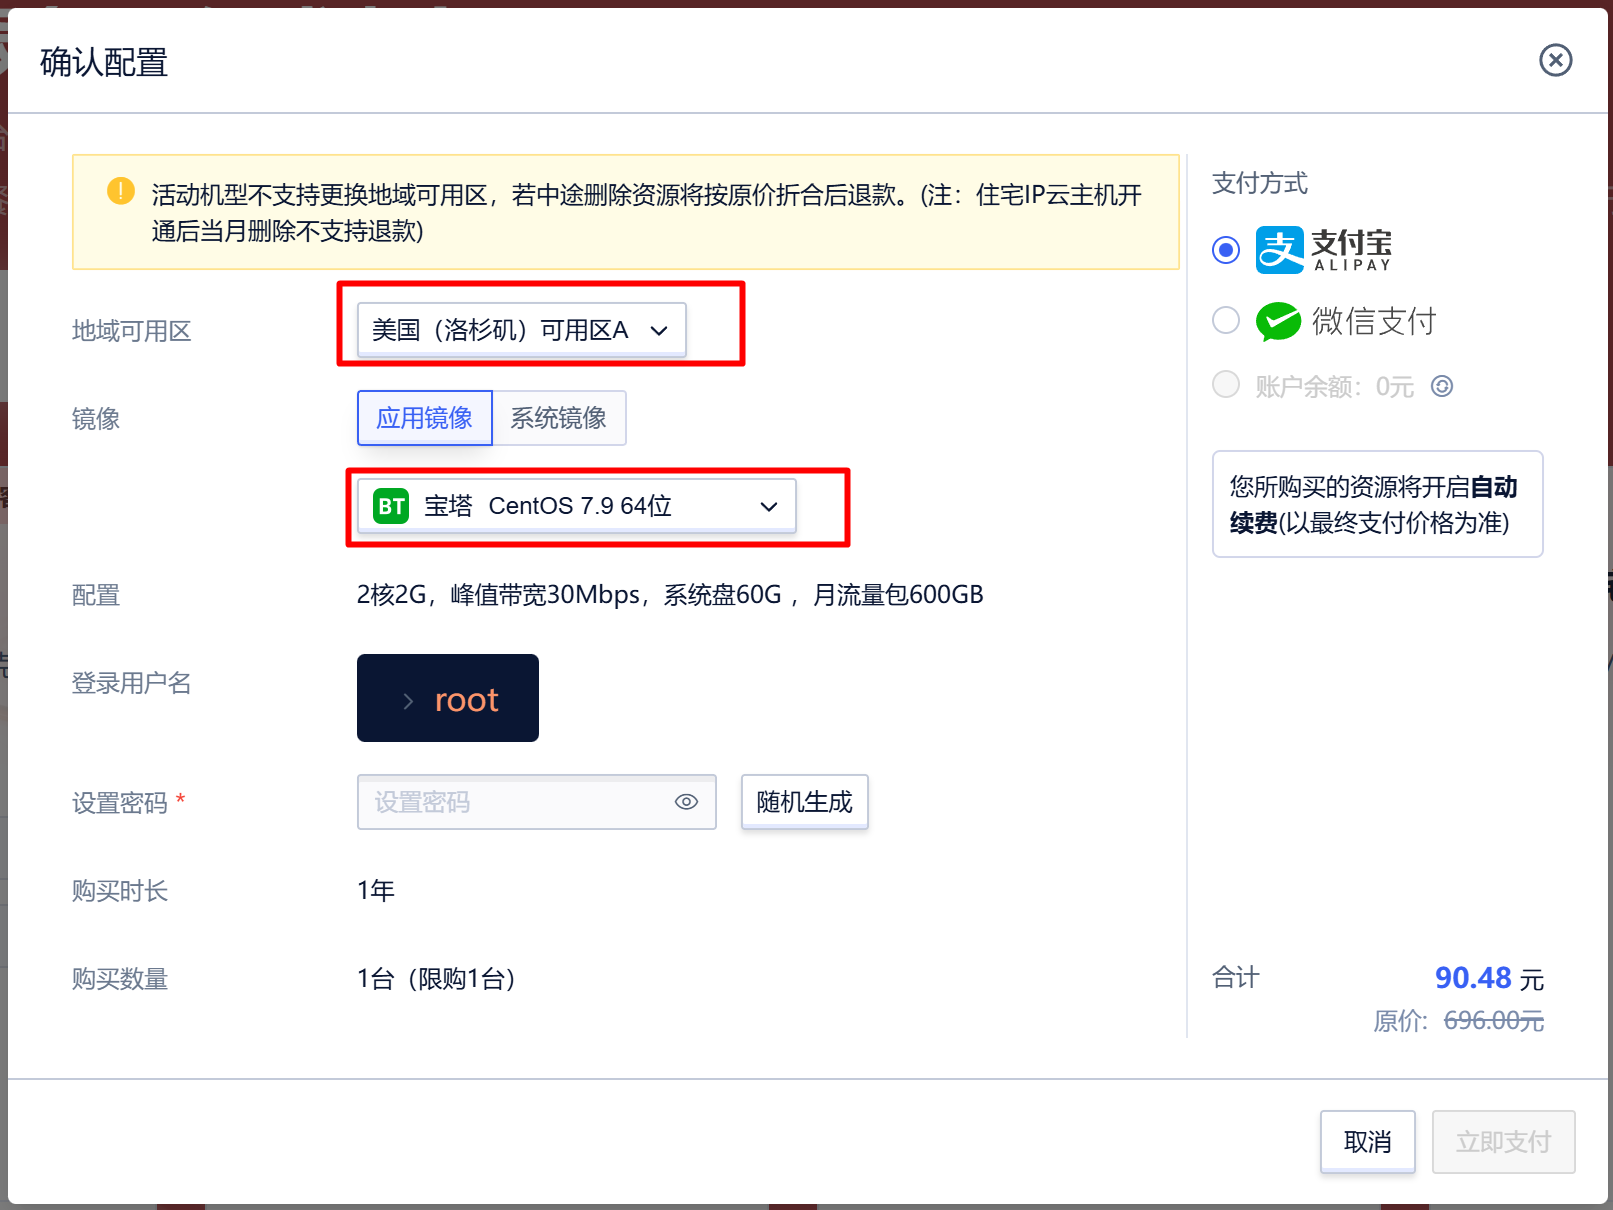
Select server configuration in ucloud (click to view larger image)
After the purchase is successful, click [Console].

uCloud purchase success page (click to view larger image)
1.2 Obtaining the BT Panel account password
After entering the [Console], locate the purchased server and click...
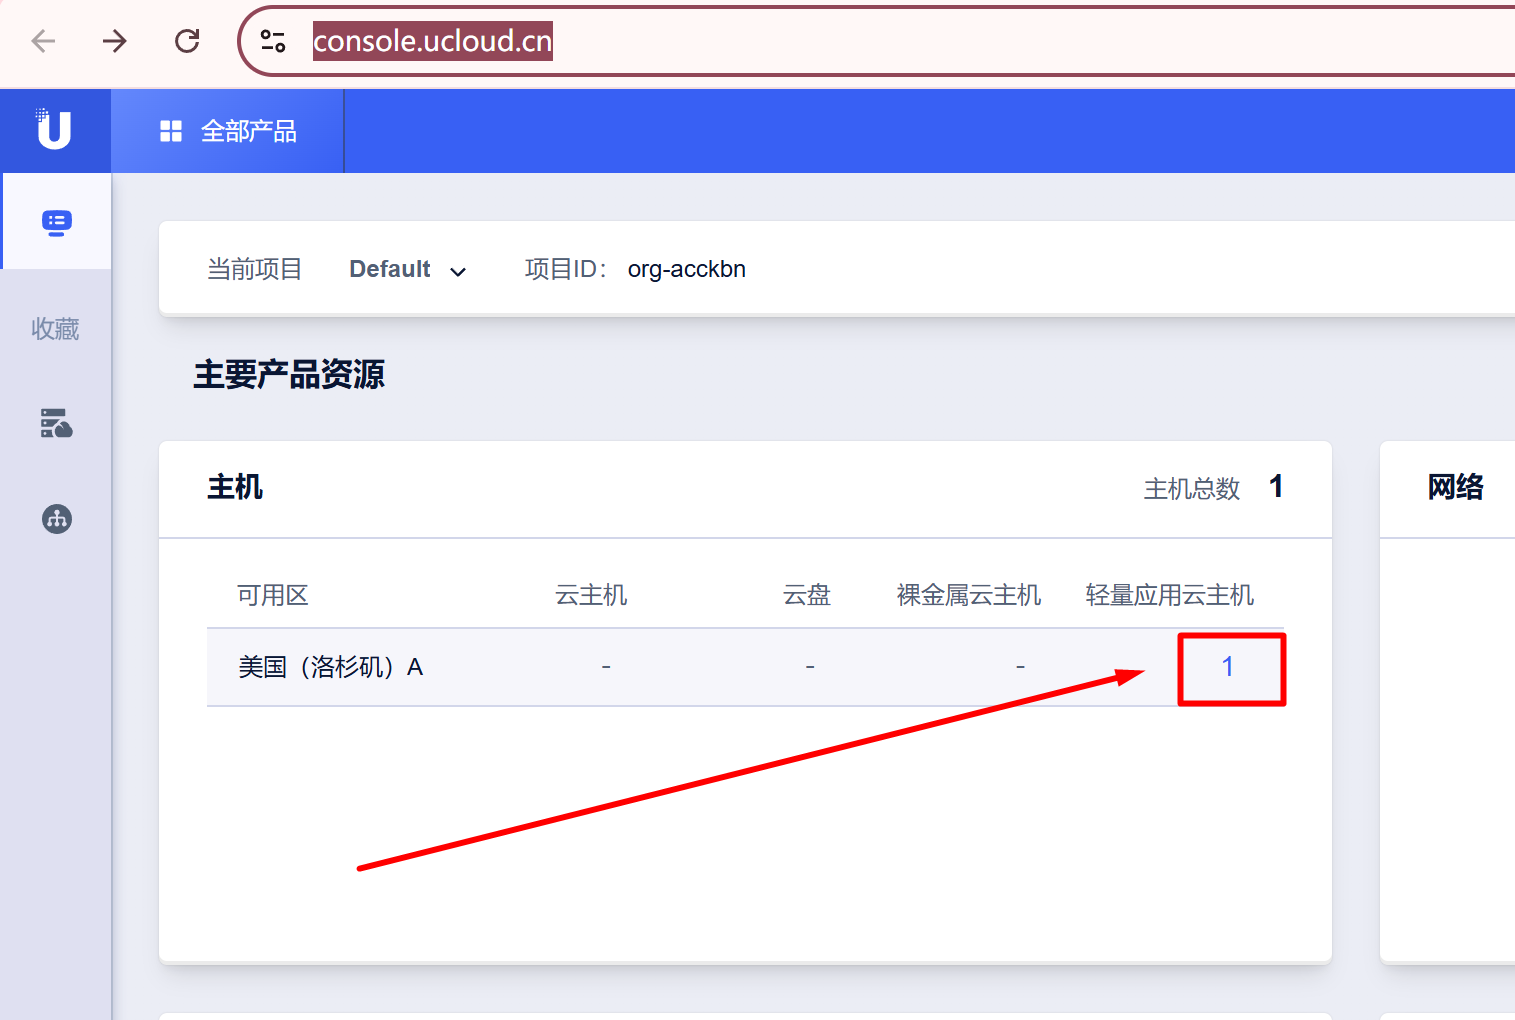
Access the server page on uCloud (click to view larger image)
Click to log in, as shown in the image below:
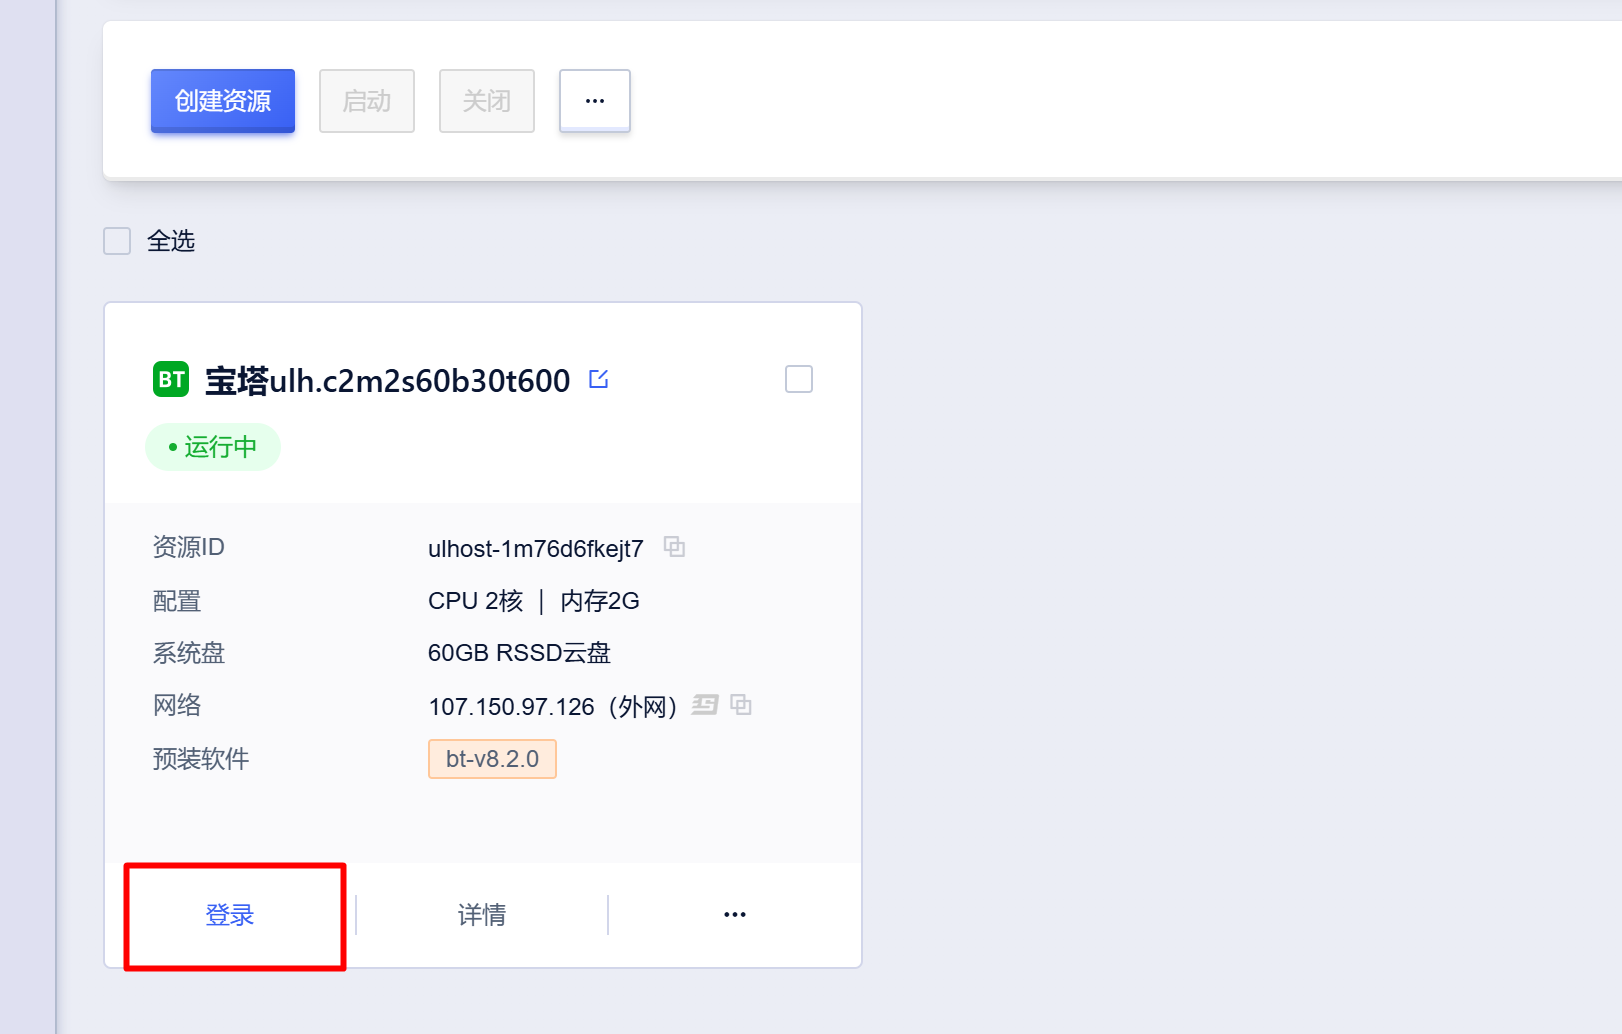
Click on the uCloud login page (click to view larger image)
Enter the password you used when purchasing the server, then click [OK].
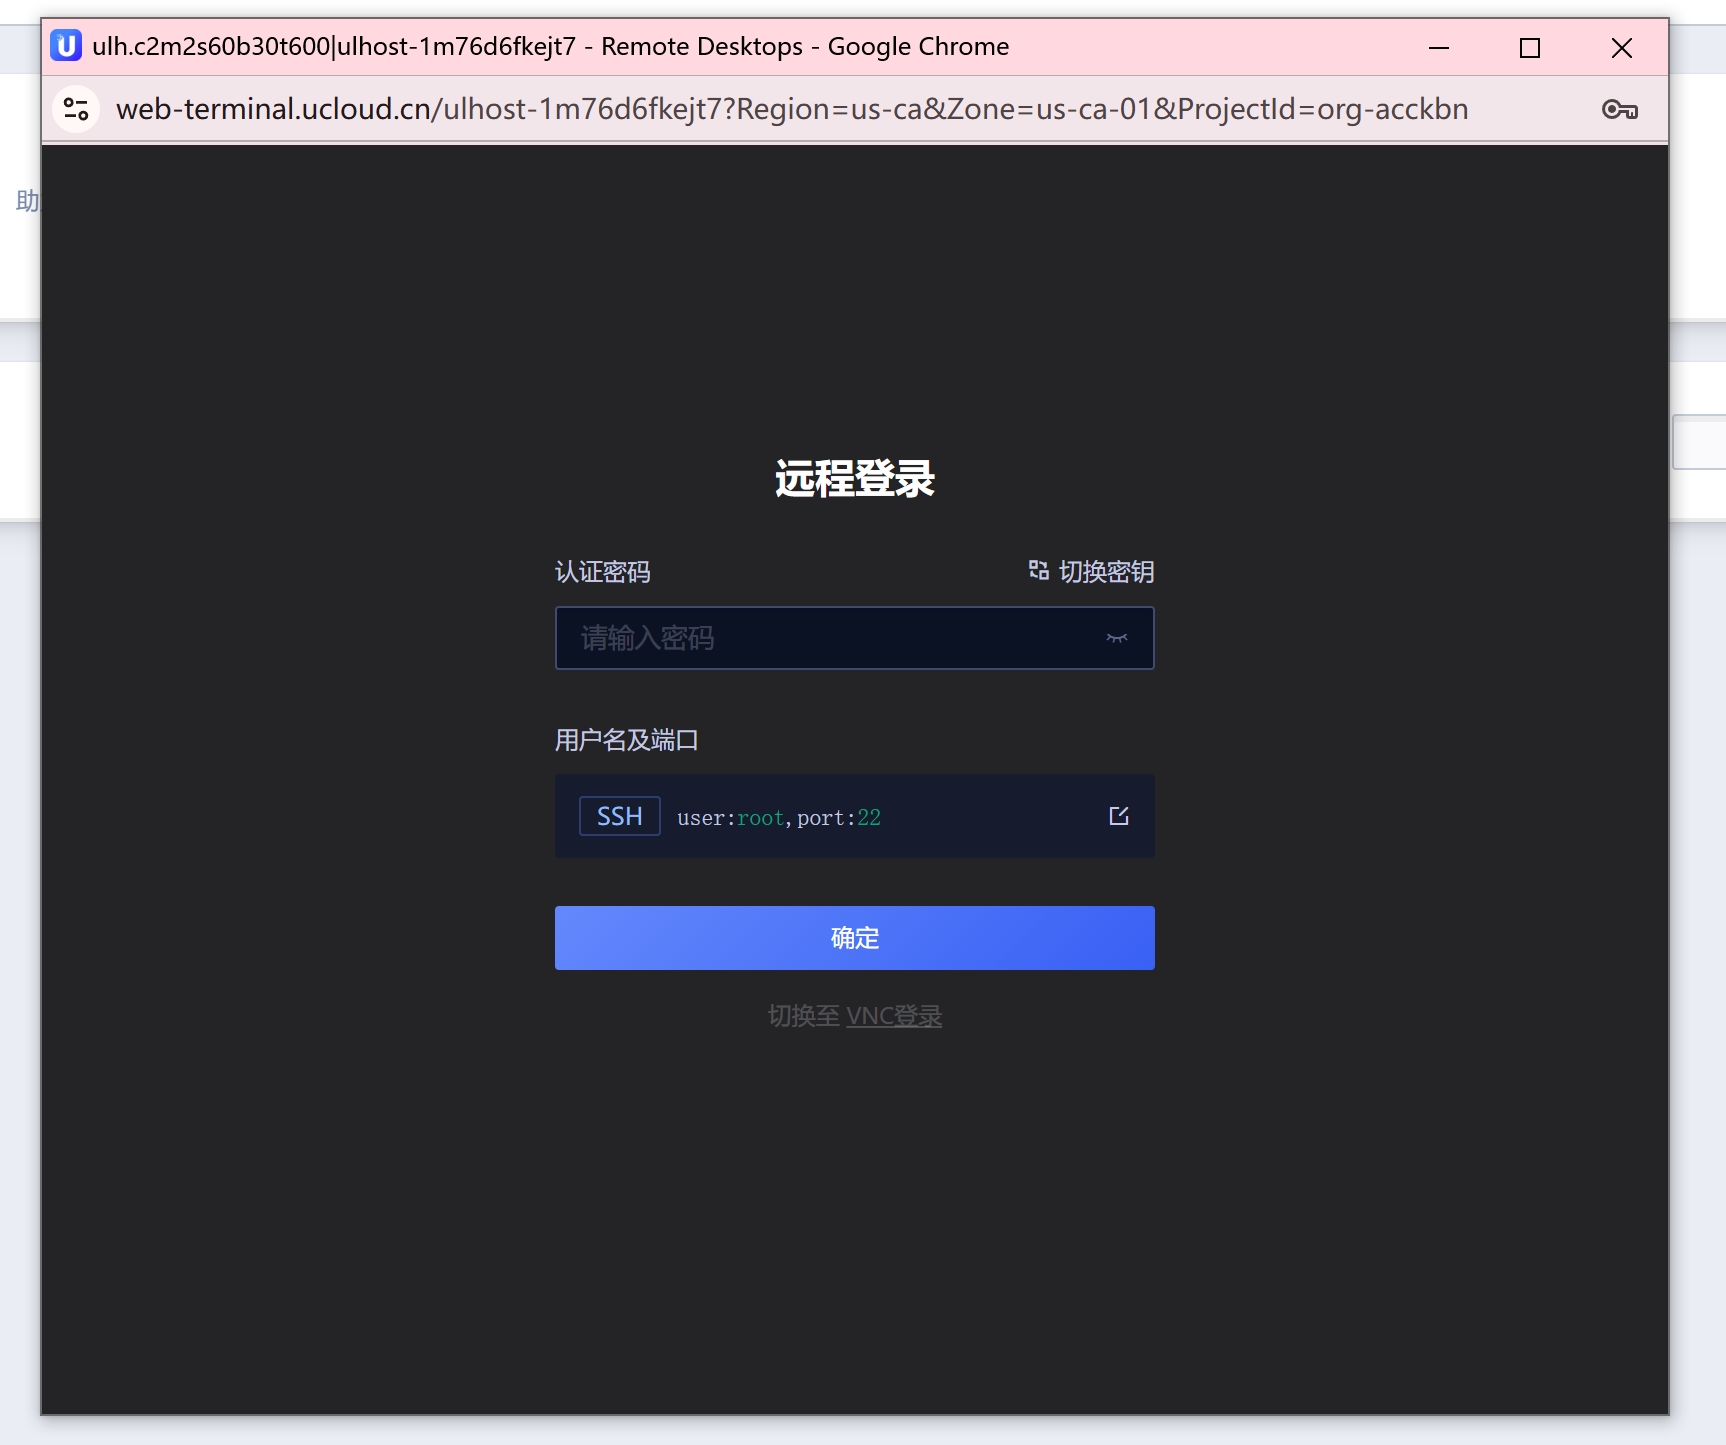
After logging into uCloud, enter your password (click to view larger image).
After successfully logging in, press the [Ctrl] key three times consecutively. If the message "[Ctrl+V to paste]" appears as shown in the image below, then the process was successful.
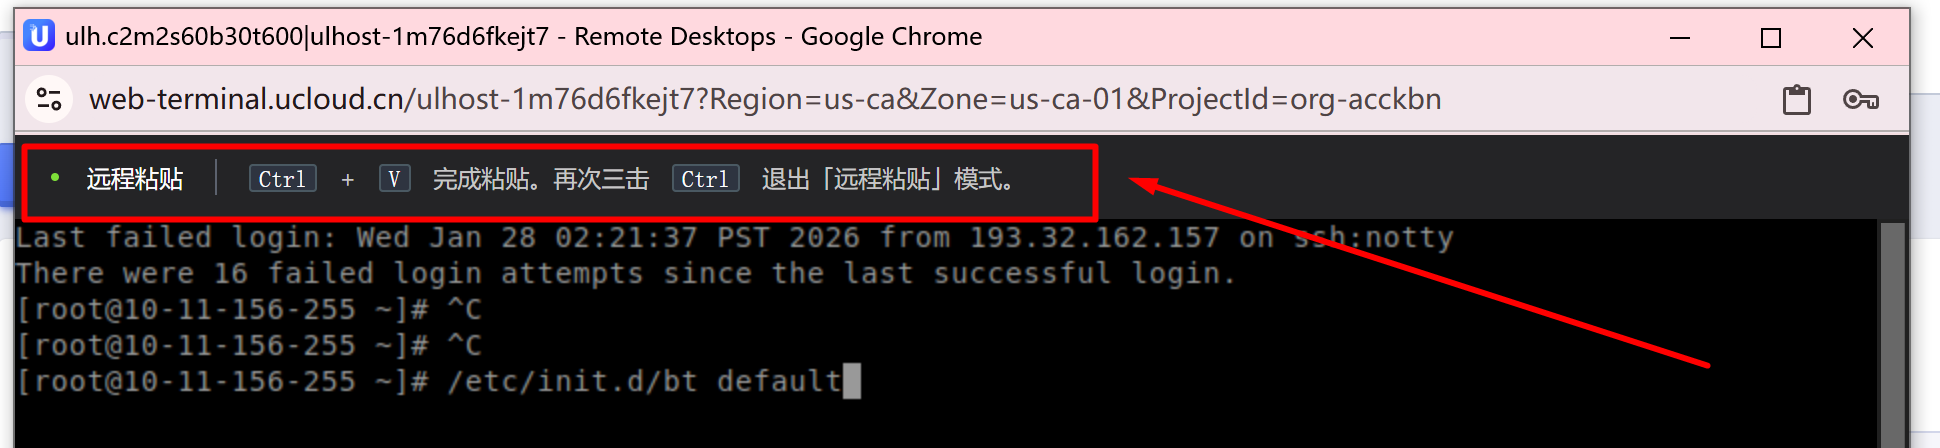
Paste is allowed after logging into uCloud (click to view larger image)
Press [Ctrl+V] on your keyboard simultaneously, then click: [Allow]
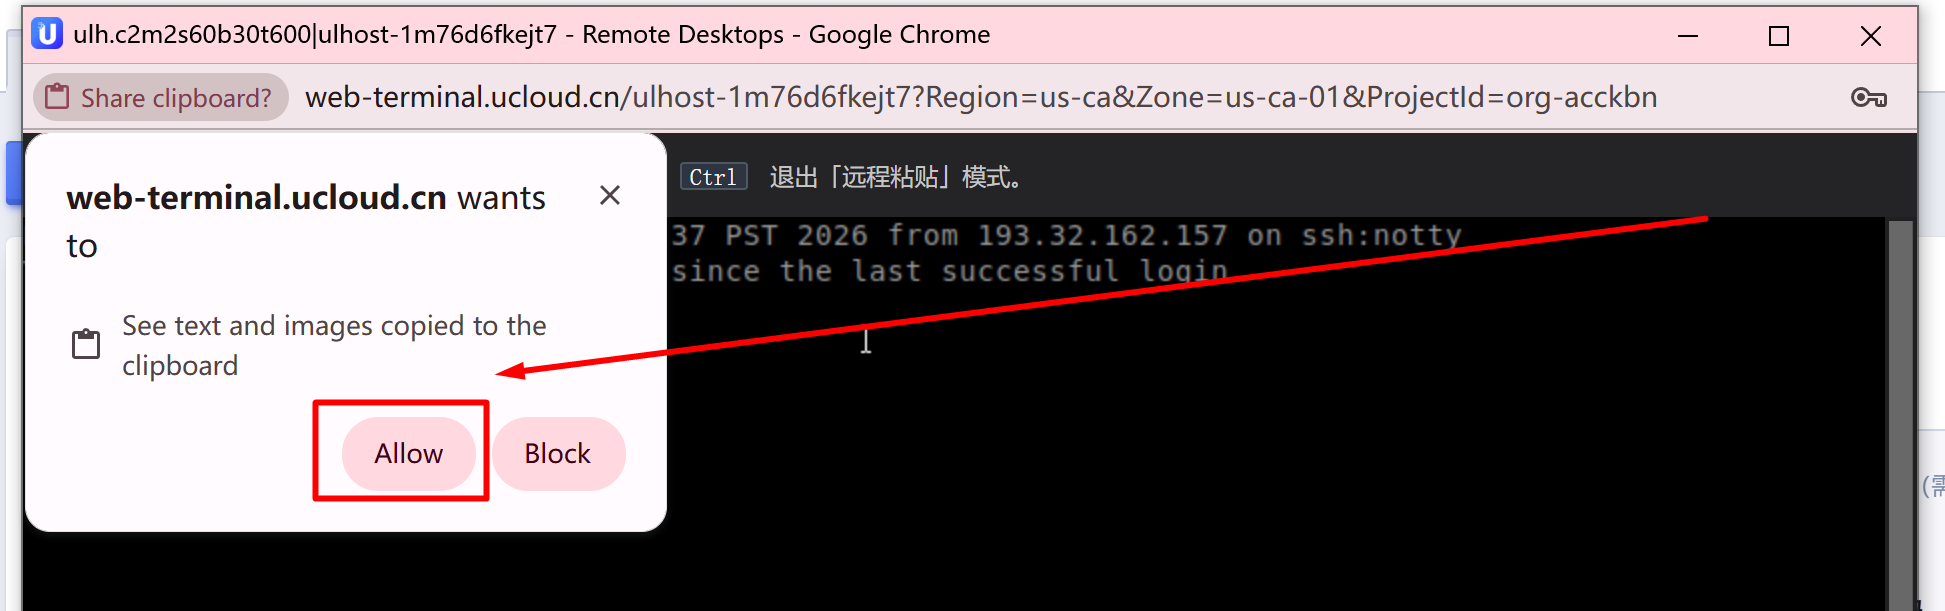
Log in to uCloud and paste (click to view larger image)
After successfully pasting, press Enter to get the address, username, and password for the BT Panel. Copy or screenshot this information and save it.
Make sure to save this, as you'll need it for many steps later. I'm saying it three times because it's important!
Make sure to save this information. I'm saying it three times because it's important!
Make sure to save this information. I'm saying it three times because it's important!
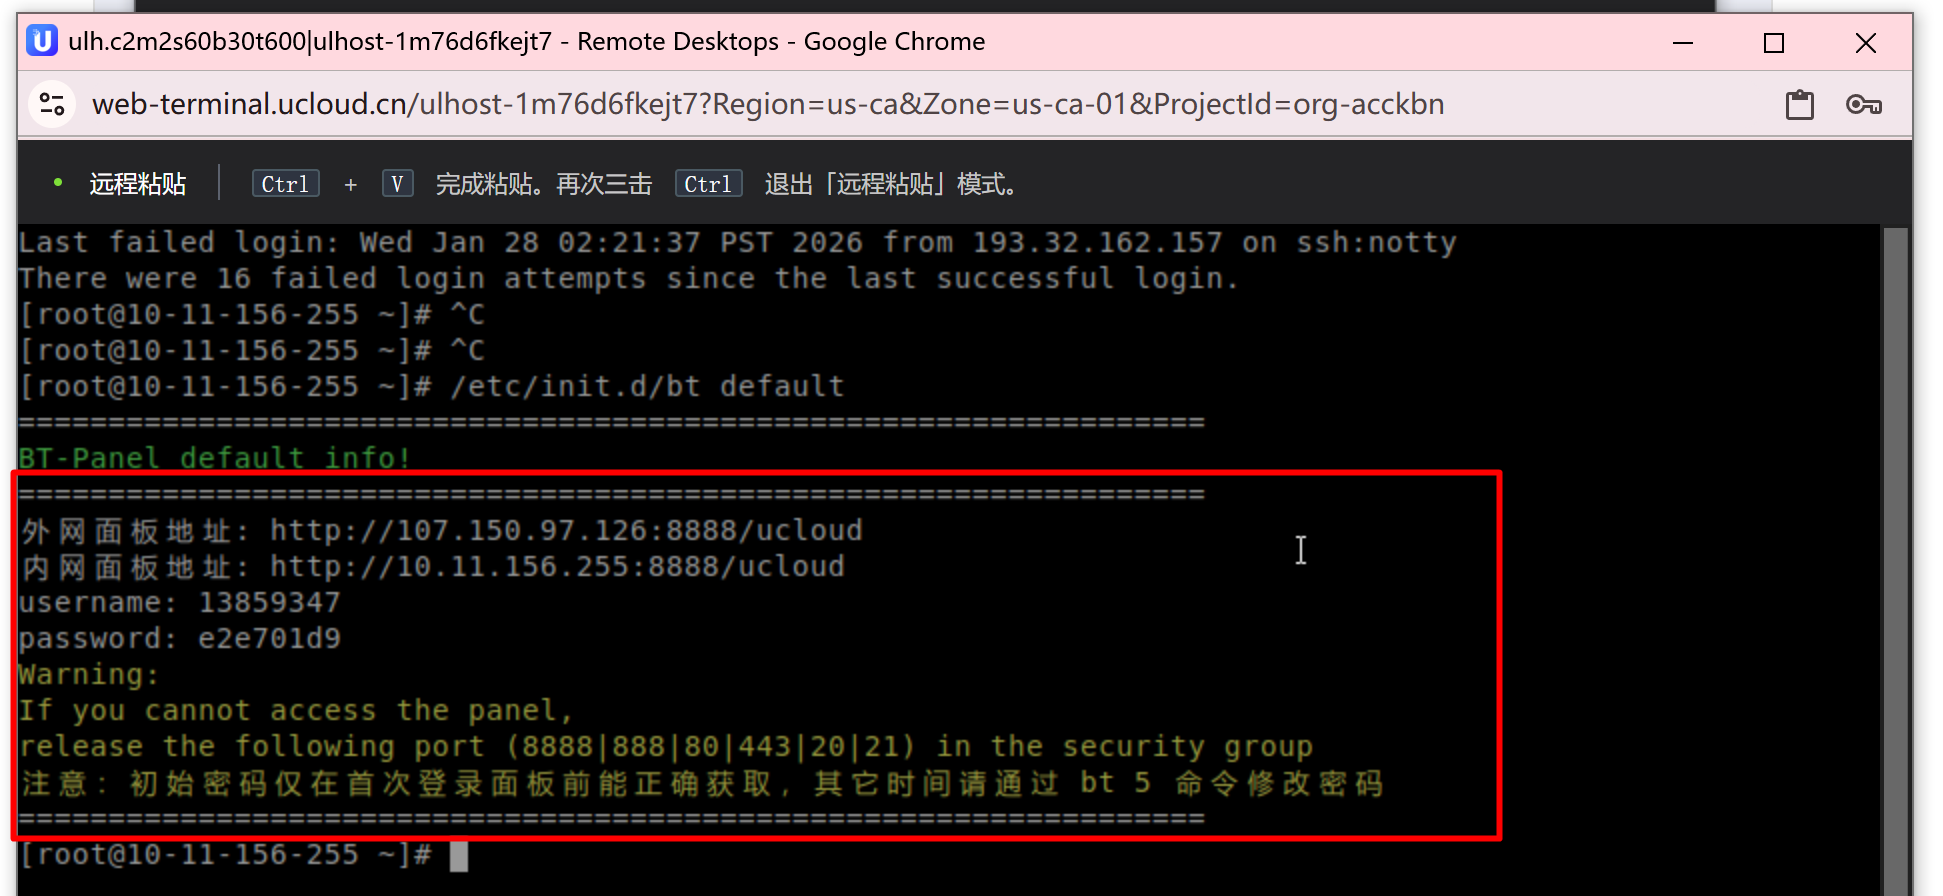
After logging into uCloud, you can obtain your BT Panel account password (click to view larger image).
1.3 Configure the firewall
Configure your firewall by opening: https://console.ucloud.cn/unet/ufirewall
Right-click -> Inspect -> [Console] -> Paste the code, press Enter to run, and the firewall will be automatically created and bound to the server.
>>>>>下载设置防火墙代码After successfully running this code, the server purchase and configuration tutorial is complete!
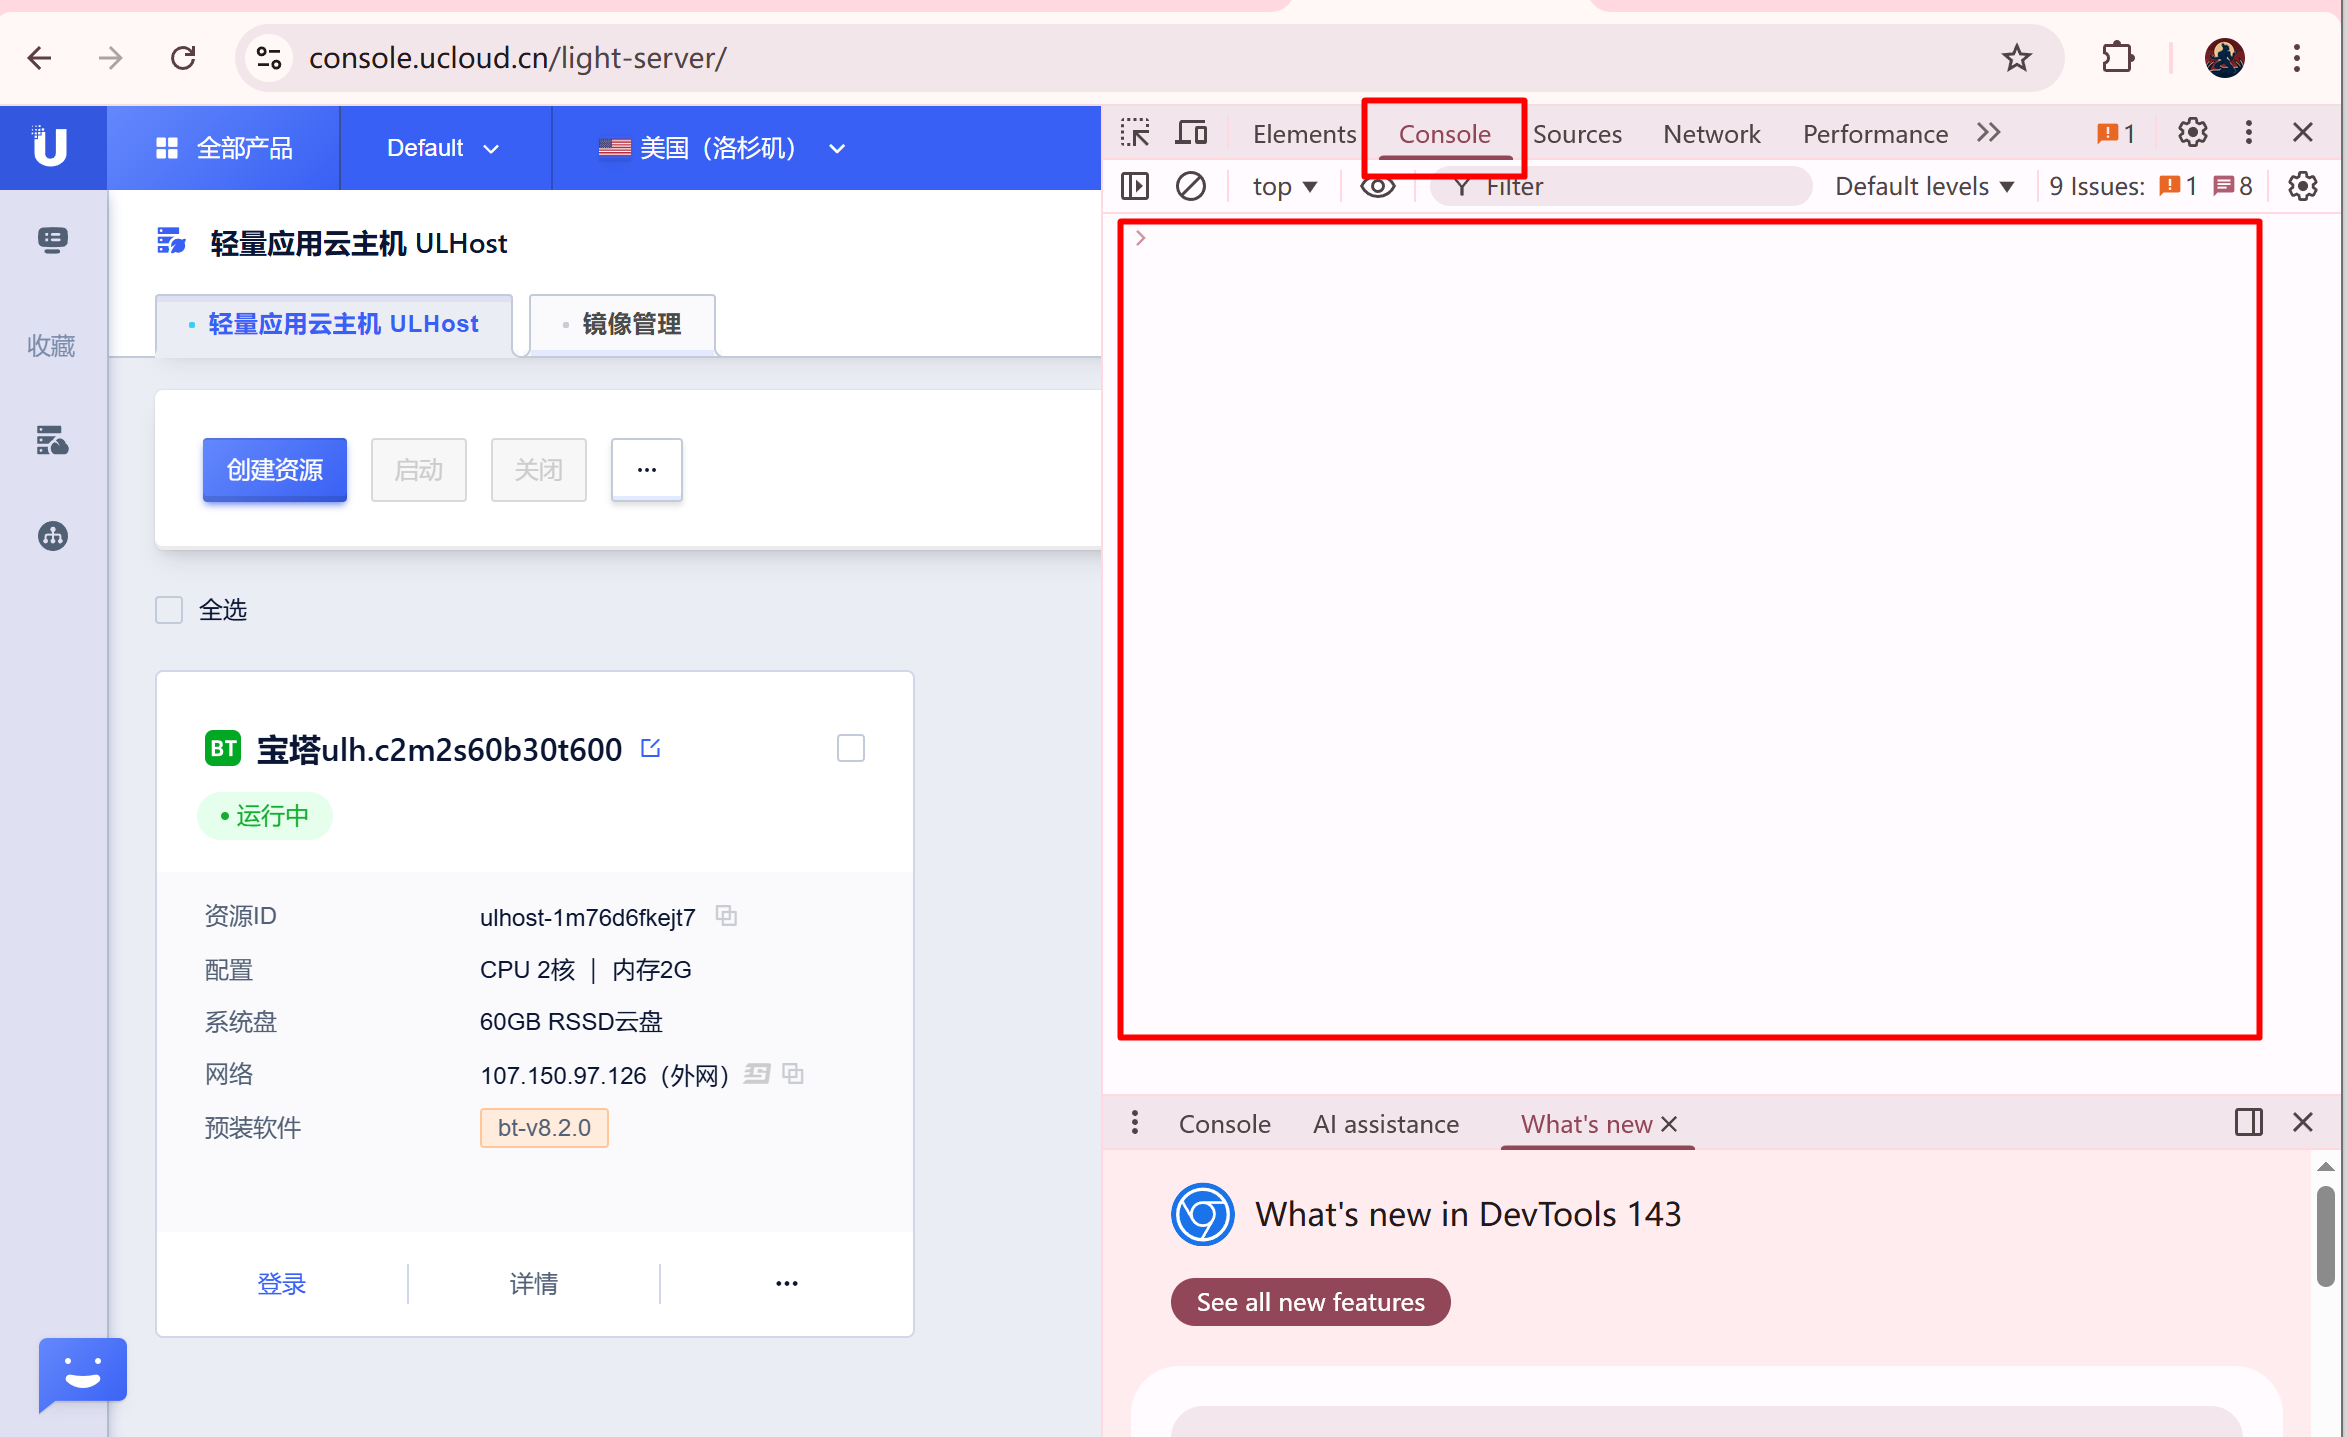
uCloud automatically configures the firewall (click to view larger image)